


What is GIT or Global Information Tracker?
Git is a 'version control system'. Plain and simple, you don't need to make complex. I have talked about the version control system in this article- version control system.
A few points you can add to it would be:
Git is a distributed version control system.
Git is the most widely used and accepted VCS. That's it for now.
How does GIT work?
GIT basically works in 4 steps,
First, you put your files in one folder/place.
Second, you stage(add) the files to be committed(to be added to your local system repository).
Third you commit the files/changes in the file to your local repository.
Fourth, you push your local repository into your main repository (main server).
How exactly to perform the above four steps?
The first thing to perform this you'll need is a GIT application, you can install GIT into your system by Clicking here.
There is both a GUI and a CLI interface available for you to use if you are using a Windows machine, you can go ahead with either of those, depending on your convenience on how you wish to use it. However, in this article, we will be focusing on the CLI interface only.
You can check if GIT is already installed in your system or not 'git --version'.

Now, you choose the folder you wish to put your files in,
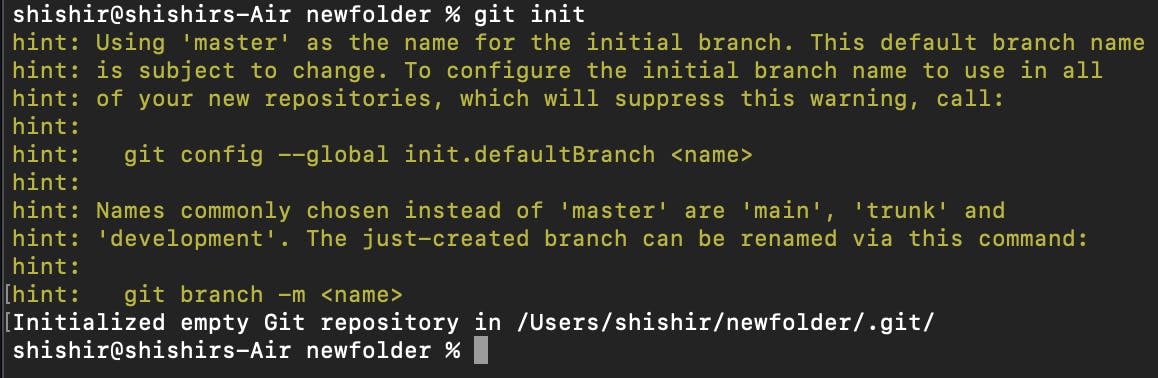
Then initialize git inside it using the command - 'git init', this will create an empty repository in your system in the '.git' folder along with the necessary folder structure.
From there everything is a game between you and your commands.
For example, we take a scenario where you now have to upload a complete project to your repository.
let's say you have your files in 'D:/projects'.
open your git and give the command 'cd /d/projects' #do mind the case of the letters here, 'A' is not the same as 'a'.
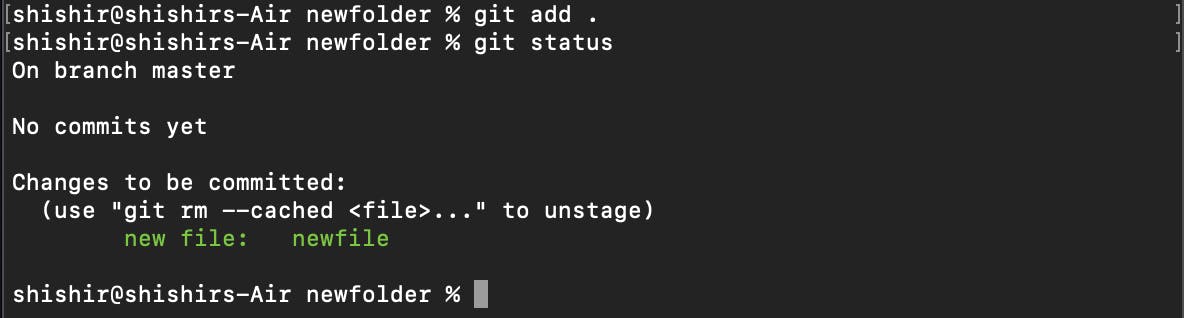
Once you are inside the folder you wish to upload the files from, do a 'git add . ' command to add all the files into the staging area.
What this means is that your work is done on the current files and now you wish to move it to the local repository in your system. (it is not yet moved yet, we need to commit it first.)
Note: If you wish to add one file at a time into the staging area then you can use the command 'git add <filename>'.
if you have accidentally staged a file and now wish to remove it, you can use the command 'git rm --cached <filename>'.
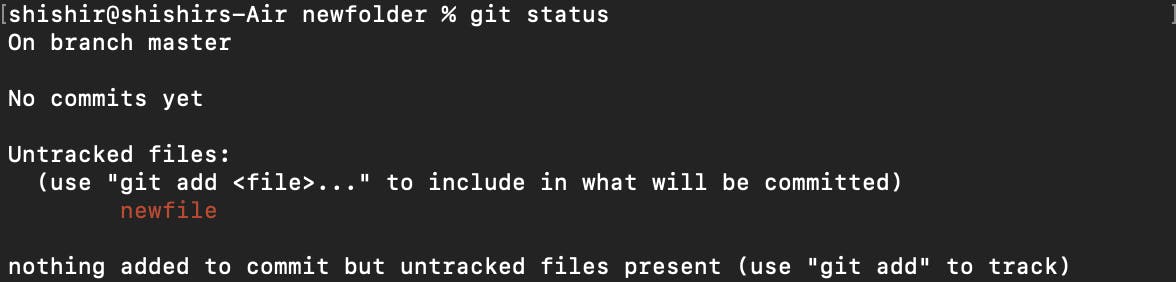
To check whether the files you have added got added or not, use the 'git status' command.
In its output, you'll be able to see the modified files (tracked file) in green color, those are the files that have successfully been staged(added), and if there is any file in that same folder that is not stagged(added) yet, then it will be shown in red color as an untracked file.
Now that you have your files staged, the next step is to move them to your local repository.
Use the command 'git commit -m "Meaningful message" ', in this command the value in quotes, you should use a message which helps others or you in later stages understand what is this change about.

Note: Post executing the above command, if you run 'git status', you will get a result that will say, 'Work tree clean', this means that your changes have now moved from your staging area to your local repository.

So, even if you now lose the main files stored in your system, you still have a copy of it in your local repository.
As for the last step here, now you need to upload the files to your main remote repository so that your peers/teammates can work on it.
In order to do that, use the command 'git push origin <BranchName>'. Typically it is the main branch.
Please keep this in mind though, as a best practice you should not commit anything directly to the main branch, you should always create a new branch work on it, and create a pull request to merge it into the main branch post the review of your code.
How to create a new branch?
You can manually create a new branch in your repository, by clicking a new branch button (see the green button below screenshot).

Or you can create it from your CLI, by issuing the command 'git checkout -b <BranchName>'.

Note: To switch to another existing branch you can use 'git switch AnotherBranch'.

Authentication:
When you commit the changes to your repository, your server should be able to identify that it is you only who is making those changes, hence you need to Authenticate yourself.
You need to do the below setup before being able to do any push or pull on your remote repository.
Add your username and mail using the
git --configcommand.Set Username:
git config --globaluser.name"shishir"Set an email address:
git config --globaluser.email"Shishir.workemail@gmail.com”You can also generate SSH Keys and add them to your system. Read about it in detail on their official page - click here to read.
In my personal opinion it is better to use a credential manager, you only need to log in the first time, post that the authentication is taken care of by the credential manager. Password-based authentication is prone to a lot of errors (GIT-HUB doesn't support it as well post 2021), and it is easier than generating the SSH keys and using them.
Hope I was able to explain the process well. If in any case you still face any issues please feel free to reach out to me, I'd be happy to help.
You can always connect to me over LinkedIn to share feedback or queries by clicking here.